Write an Article
How To Take A Screenshot On Windows
If someone tells whether can you send me the screenshot of data and any work? If you don’t know that how to take a screenshot, so you will feel shame on yourself, I’d like to say that you don’t need to shame on yourself because you can simply take a screenshot with few commands of keyboard and with the help of some software. If you use software, you will be able to take screenshot of particular whole screen, specific window and any region. If you want to take a screenshot of your work, data, errors report and financial report, so follow these simple steps to take screenshot.
Method 1: Taking a screenshot of current whole screen
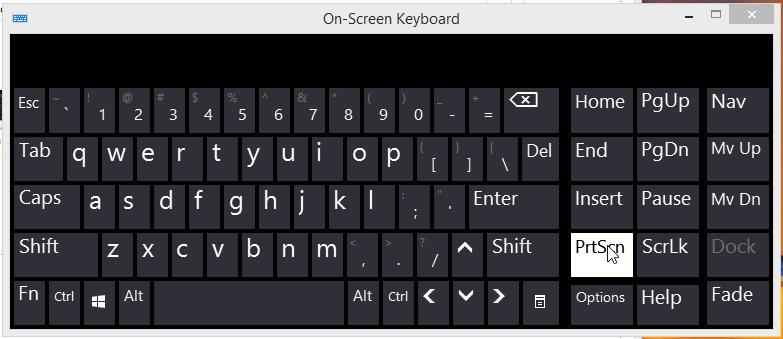
1. Pressing the button of “Prt Sc Sys Rq” or “PrtScn” on keyboard, which is between F12 and Pause Break button. After pressing this button, it will capture an entire your screen as well as copy then you will need to paste this image in any image editor such as Photoshop, Paint, Illustrator and any or which you use to edit an image. Your captured image resolution will keep same as your screen resolution and after if you want to resize the image you can resize, if you don’t know how to resize, so you should learn about resize multiple images in photoshop . This function won’t notify you that your screenshot has been taken.
- There are many types of keyboard or every keyboard has different labeled of this type of button, so If you did not find this “Prt Sc Sys Rq” button on your keyboard, so find out these labeled button, "Prnt Scrn", "Print Scr", "PrtScn", probably printed with this name on your keyboard. By the way mostly printed “Prnt Scrn” or “Prnt Scn” on key. Whenever you didn’t find, so look for the similar button like “Prt”.
- Only pressing “Prt” key doesn’t work to take screenshot in some Windows or laptops, because here is a different command to take screenshot that hold down the button “Fn” or “function” key then press the button “Prt” and release the button of “Fn” and then you may be able to capture your screen.
2. To paste captured image into the editor: Now, First you’ll have to capture an image as mention in first step then don’t copy anything during processing of image until convert into an image file, otherwise you’ll be frustrated. Follow these simple steps to convert into file after taking a screenshot.
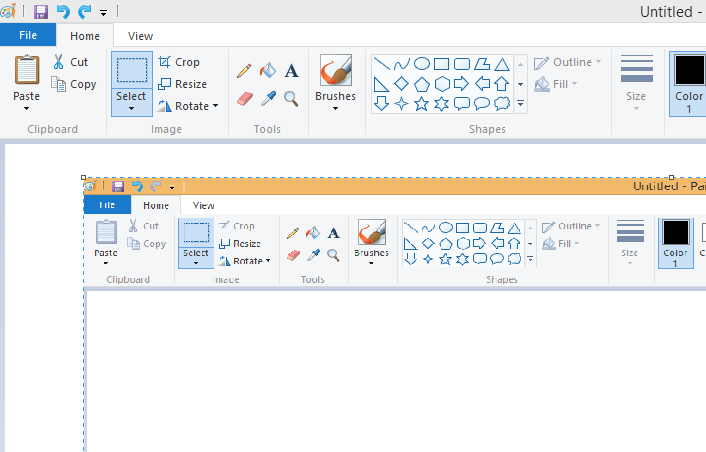
- Go to the “start menu” then look for the “paint” under the “Windows Accessories” or “Accessories” then single click to open the program of “Paint” and then Paint will automatically started as well as new blank picture, if your new blank picture doesn’t open, so you will need to create new picture to click on “New” function under the file at the upper right corner.
- This is very simple example of paint to convert into the image file and if you want to use another editor such as Photoshop and any editing software, so you can use. By using shortcut “Ctrl + V” to paste captured image of the clipboard then your captured image will be appeared on the clipboard or you can also paste captured image to click on the function “Paste”, which you will be found at the below of option of the “File” in the Windows 8, and another windows, you will be found under the option of “Edit”.
- Now, go to the option of “Save as” under “File” then hover on it to choose file format then click on the chosen file format and then locate the place of saving screenshot file. Go to the saved location of file and check screenshot file is saved or not. If not, so do again this step.
3. To take a screenshot without using any editor: Hold down the “Windows” key then press the key of “Prt” and release the keys and then your screenshot file will be saved into the folder of screenshots that will be found in the folder of “Pictures”. This function won’t also notify you and your screenshot file will come out in PNG format.
Method 2: To take a screenshot of only one Window
1. Activate the Window, which you want to take a screenshot. This command takes a screenshot only an active “Window”. The active Window, which appear on the front then another Windows.

2. Hold down the key of “Alt” and press the key of “PrtScn” then release the all keys and your screenshot will be captured as well as copied. This time you’ve to paste again into the clipboard of any image editor and save again the image as you did in the method one.
Method 3: Using Greenshot

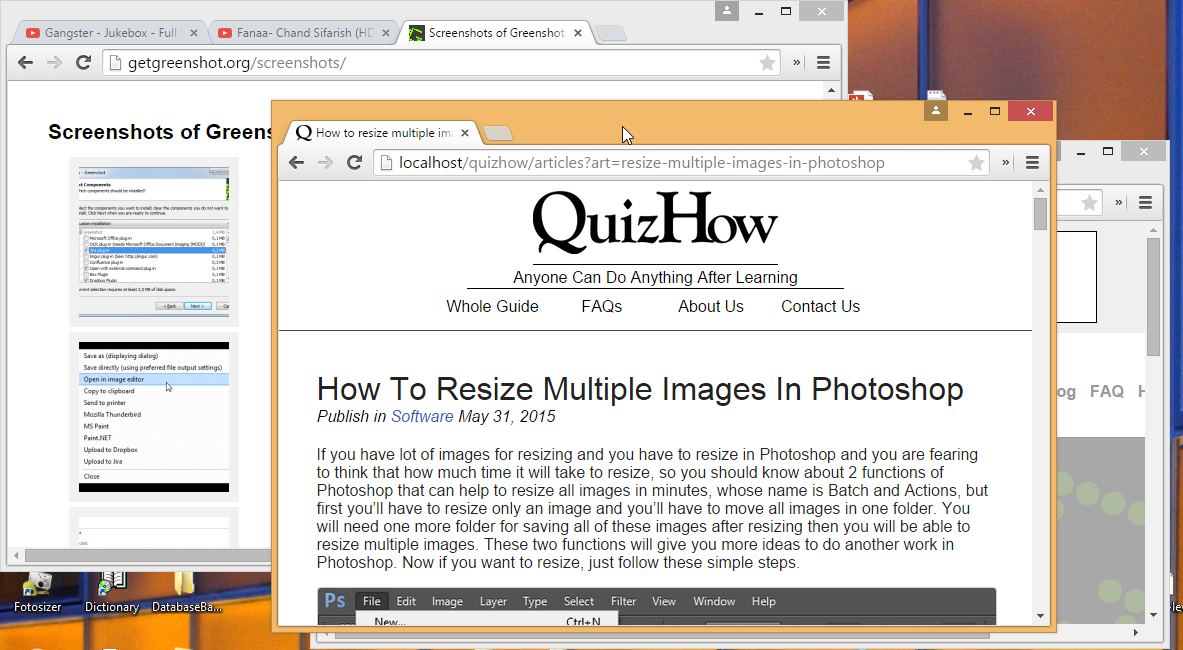
1. Search the keyword of Greenshot, Open the Google then type this keyword “greenshot” into the search box and then click on “Download Greenshot”. Software download page will be loaded.
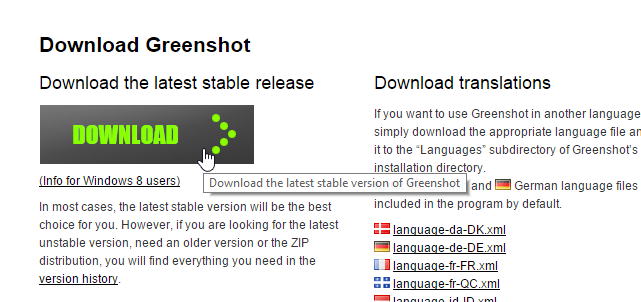
2. Download the Greenshot: After loading page of download, your will see the big button of download at your left hand side. You will need to click on this button to download setup file of Greenshot and install on your computer or laptop and remove this software from the startup and then restart the system.
3. Open the software: It’s free and much easier and quickly take a screenshot. This tool gives many types of file format like PNG, JPG, GIF, BMP and TIFF and can set screenshot location as well as set quality of image as wherever you want to save and if you want to change hotkeys, you can change. And you can also take a screenshot of particular region and after taking region image, you forgot to save, so you can also capture without selecting. After opening software, use these default shortcuts keys to take a screenshot as mention below.
- Take screenshot of entire screen => “CTRL + Prnt Scrn”
- Take only Window shot => “Alt + Prnt Scrn”
- Take only particular region = > “Prnt Scrn”
- Capture the last region => “Shift + Prnt Scrn”
- Especially capture Internet Explorer => “Ctrl+ Shift + Prnt Scrn” .