Write an Article
How To Combine Multiple Images In Photoshop Cs6
Combining multiple images into the one image is different technique than other techniques and is little bit hard to apply, because it’s for beginners therefore you should have good experience of Photoshop. If you understand this technique then you'll be able to do many things with image such as replacing hand, replacing closed eyes, replacing fearful faces, without smiling faces etc. If you want to know this technique then apply the all steps on the image.
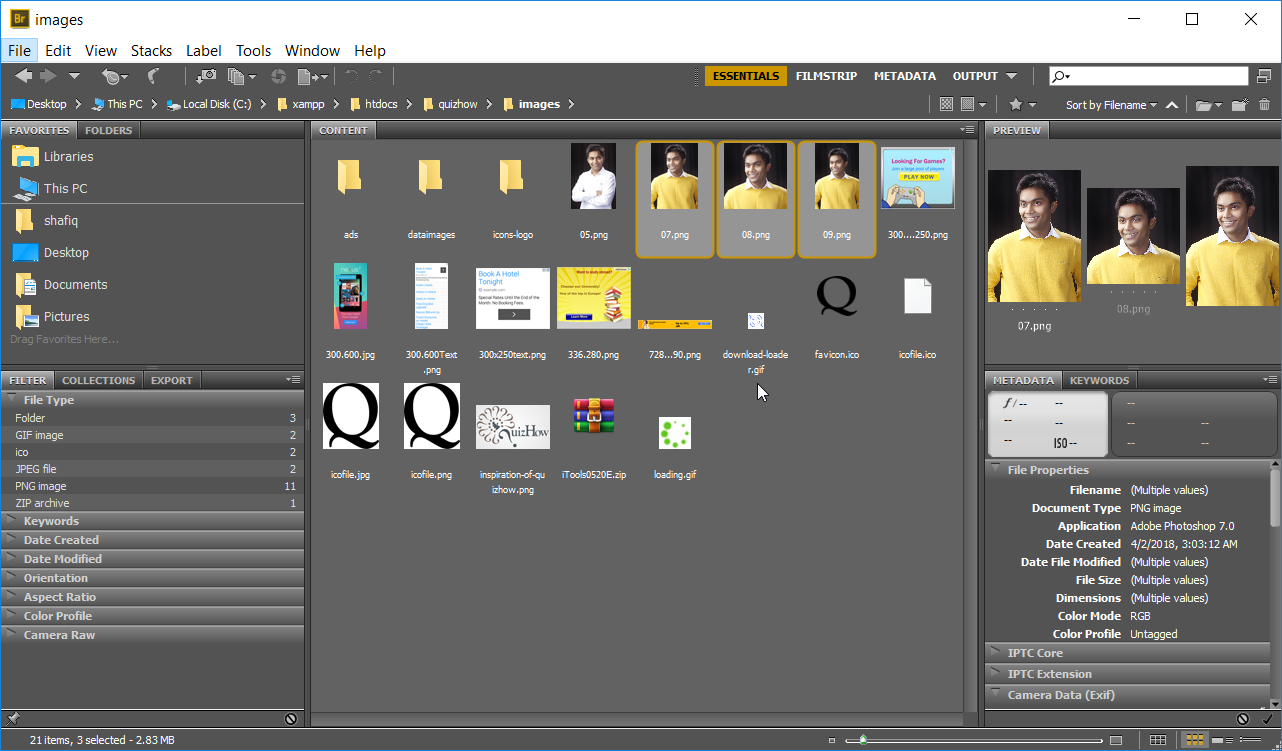
1. Open the adobe bridge: It is simple media manager that is installed with Adobe Photoshop and it has own advantages to use such as browsing all directories, navigating and organizing so open the Bridge after finding out through search box or from the list of software.
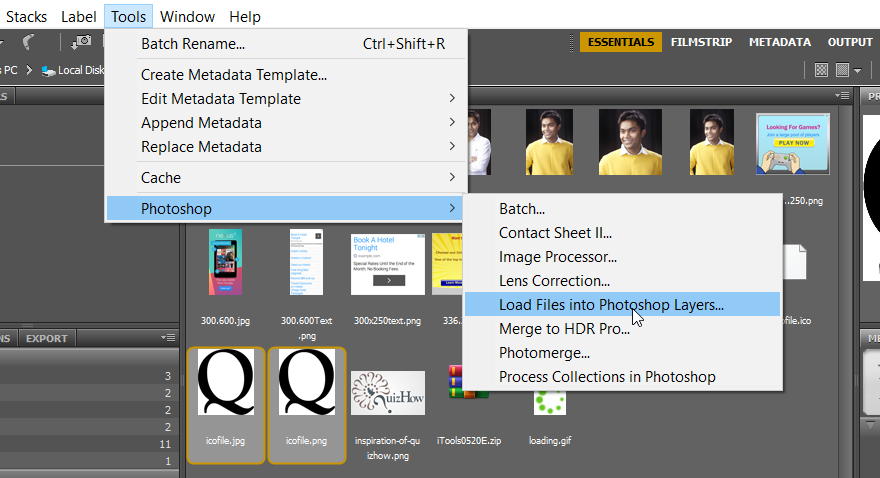
2. Load the combining images into the Photoshop layers: First you need to browse the images that you want to combine then go to “Tool” and then click on the “Load Files into Photoshop layers...” under the “Photoshop”.
- Ensure that you have installed Adobe Photoshop because bridge also install with many adobe software otherwise you won’t get the option of “Load Files into Photoshop Layers...”
- All Combining images that you’ll load into the Photoshop layers, all images must be the same background, same picture, same face or anything that you want to combine so that can easily aligning the layers and can’t easily judge anyone that is edited.
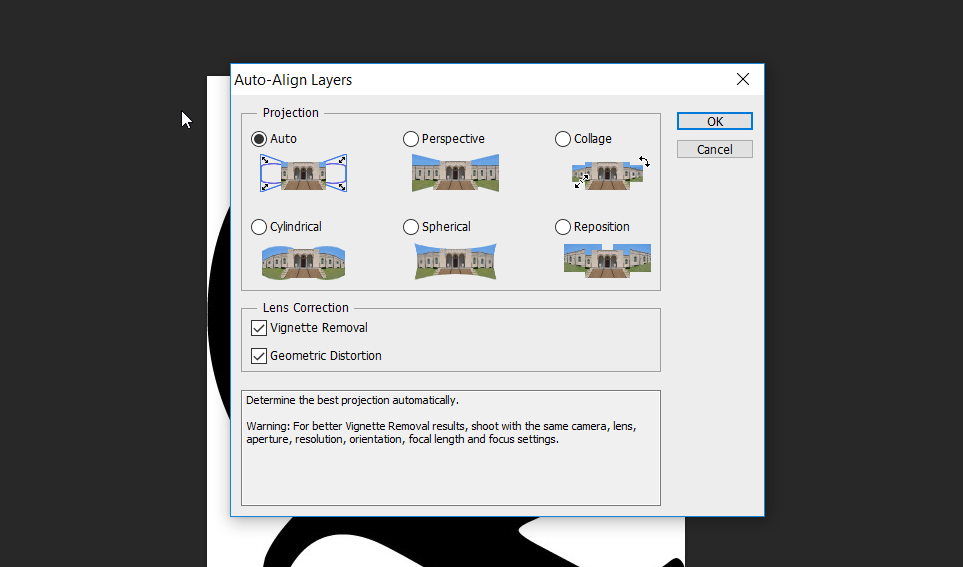
3. Aligning the layers: It is a projection, its means that automatically makes the same size of all layers that you want to keep. Now you need to select all layers that loaded into the Photoshop layers from bridge then go to “Edit” then click on the “Auto Align Layer” and then auto aligning window will be appeared on the screen then make sure the setting of projection that is listed below and then click “OK” to align all layers.
- Here is you need to check the options of “Vignette Removal” as well as “Geometric Distortion”.
- It had better to select the auto option of Projection.
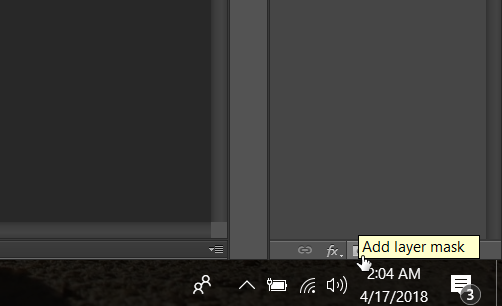
4. Add layer mask on the first layer: Now, you need to go to “Layer” panel then select the first layer from the top and then click on the small icon “Add layer mask” at bottom of “Layer penal” that is between “Add a layer style” and “Create new fills or adjustment layer” as you can see in the image.
- If you have more than 2 layers then you’ll have to also add layer mask on another layer. Suppose you have 4 images then you will need to add layer mask on only first 3 layers. You’ll have to leave last layer.

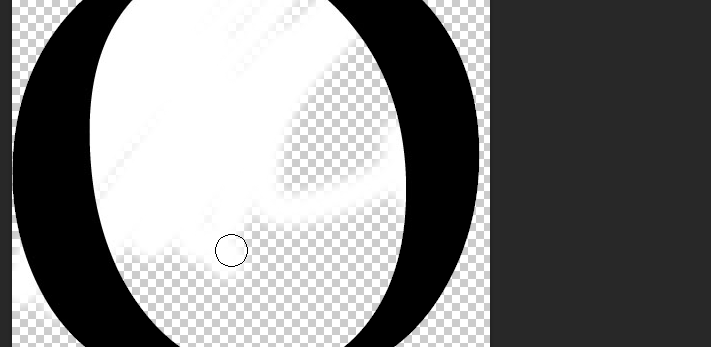
5. Brushing on the first layer: You’ve to start brushing on mask of layer and you’ve to brush only on that area that you want to combine into another layer. Brush can be selected by shortcut key “B” and you can also select from the tool panel.
- Make sure the color is black because when color is black then brush will mark on the mask and white color will unmark on the mask so that we can invert the layer.
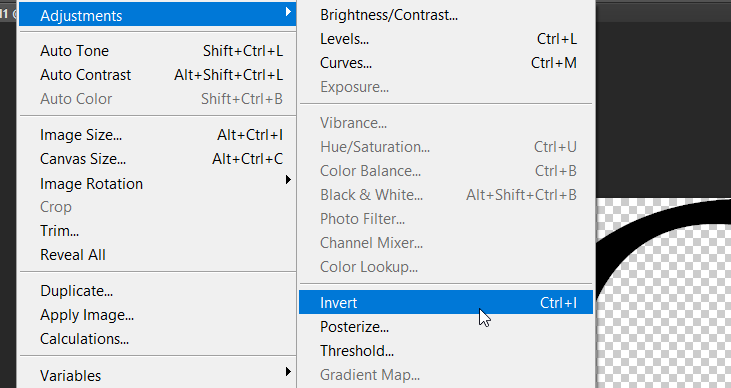
6. Inverting the layers: After brushing you have to invert layer into another layer. Now select the first layer then go to the menu option of “Image” then click on the “Invert” under the “Adjustments” and then your first layer will be inverted into the second layer.
7. Brushing on first layer again: It is not for all type of image but sometime when we invert the layer then first layer is also come second layer up cause of inverting therefore we need to use brush again on the second layer so that second layer will come first layer up. While using brush ensure the color is white if not so you’ve to take white color to unmark on the mask.
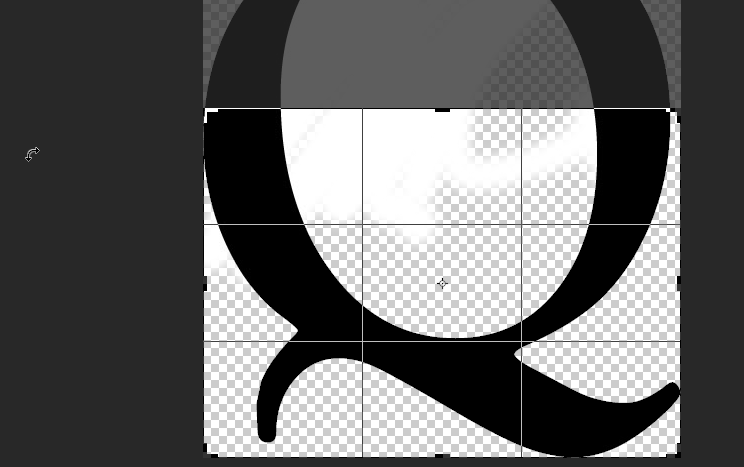
8. Crop the image: Almost your all images has combined. If combined image wants to get some objects of image cropped then crop the image otherwise your image will look ugly. Mostly all combined images want cropping. Crop tool can be selected by shortcut key “C” and you can easily find from the tool penal.
9. Save the image: Your all images has completely combined. You need to just save and you can easily save to use this shortcut key “CTRL+S” and you can also save manually to go to “File” then click on the option of “Save”.